A stone path can add a lot to the exterior of your home especially if you have grassy areas that seem to have no purpose. Grassy areas can seem to just go on and on without adding anything to your yard so adding stepping stones or patio pavers can help to spruce it up.
These paths can add some direction to your yard and make it easier to navigate. They also tend to be a more affordable and stylish option to add if you do not want to spend the big bucks on adding a full cement walkway.
Steps To Build a Rock Pathway
If you are interested in building your own path at home, then keep reading. We are going to break down the steps you’ll need to take and how the process should go. The process overall is generally a quick one because you do not need to do anything too extensive for this project. Making it a perfect weekend project for you to do.
Before you begin, the most important thing to do is pick out your stones and materials. For example, you can use steppingstones but then there are tile, brick, or concrete steppingstones to name a few of your options. Or you can use patio pavers known to some as paver stones which can be easy to work with and relatively inexpensive.
Knowing what material, you are working with will help you to determine the measurements needed for clearing areas and spacing.
Here are the important steps that you will not want to mess up if this is a fun weekend project.
1. Remove Vegetation and Lay the Groundwork
Before you can place any stones down, the area needs to be cleared of any vegetation and then leveled. This will ensure that your stones will be level and not rival weeds. There is nothing worse than having some overgrown grass or weeds ruining the look of your stone path.
It is recommended that you add some type of leveling material such as sand to the ground. This can allow you to save time later with leveling and help prevent pesky weeds from growing between stones. While it is a simple step to accomplish it may be one of the more time-consuming ones to complete, especially if your path is going to be a long one.
2. Laying and Leveling
Next comes the exciting part of laying your stones down. This is when you get to see your work start to show. As you lay each stone make sure that you are spacing them out properly to fit your wants. Some prefer a more compact look while others like a more spread-out look, it all comes down to your preference here.
When placing each stone, try to keep them on top of the sand for the most part as this will help to naturally keep them level with one another to some extent. It is important though that you go in now with an actual level and check each stone. If needed, adjust the stones that are not leveled and try to keep them at all similar heights to one another.
3. Preventing the Weeds
Step 3 is essential to creating a long-lasting path and preventing weeds from growing. After the stones are leveled and placed as you want them to be you will need some weed barrier. It typically comes in sheets that you can lay down and easily cut.
You will place the weed barrier over the stones and mark where they fall. This will allow you to cut holes where needed so that when it’s placed, it falls around each stone protecting it from the ground below. The material is known to stop weeds from growing and helps to keep your ground level.
Remember to keep the tarp weighed down as you complete this step because one gust of wind and the last half hour of work you have done can be ruined. Paint buckets, garden shears, a rake, and more can be used to hold the barrier down while you finish placing it all. After it's placed, you get to fill in the area anywhere that you can see the material with your rocks of choice.
You can choose to use gravel, rocks, pebbles, and more to cover up the weed barrier. Just keep in mind that the material you chose should be somewhat smaller to ensure that it does not cover up your new stone path.
4. Sharp Looking and Contained
Last but not least is installing some sort of edging or barrier to your path. This will keep the area contained and separate from any other aspect of your yard whether that be mulch or grass. It also gives it a more polished and complete look if we do say so ourselves.
After adding this final touch, your stone path is complete. It will add a more structured and put-together look to your yard while being functional. What more can you ask for? Plus, when people ask about it, you can tell them that you made it yourself.
Frequently Asked Questions
In this part, we answer some of the most popular questions and give you expert advice to make sure your project goes well.
What are some budget-friendly materials I can use for a stepping-stone walkway?
For those on a tight budget, we recommend using concrete pavers or repurposed materials such as broken pieces of concrete (often called urbanite). They provide a durable and cost-effective option for creating a charming stepping-stone walkway.
What is the best method to create a natural stone pathway in my garden?
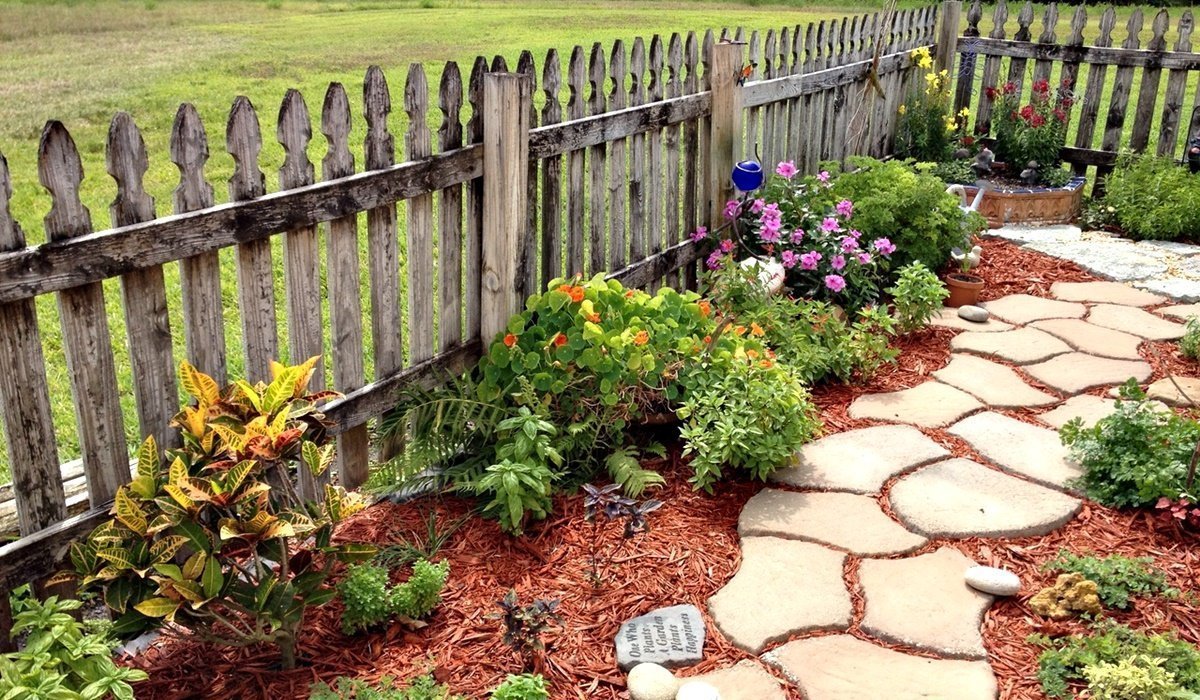
The best method to establish a natural look is to use irregularly shaped flagstones. Lay them in a bed of sand or gravel to ensure proper drainage and a more organic appearance, blending seamlessly with the surrounding landscape.
Which types of stones are most durable for constructing a walkway outdoors?
Granite, slate, and bluestone are among the most durable stones for outdoor walkways. They withstand weather elements well and maintain their integrity over time.
How can I properly install a stone walkway with mortar for long-lasting results?
To install a stone walkway with lasting mortar, starting with a solid foundation of compacted gravel and a layer of sand is essential. Laying the stones on a mortar base and filling the joints with mortar helps keep the path stable and weed-free.
How do I construct a stone walkway on uneven or sloped ground?
When constructing a walkway on uneven or sloped ground, level the path as much as possible and create steps or terraces if the slope is steep. Use larger stones for steps and secure them with a proper base to ensure stability.
How do you prepare the ground for laying a stone path to ensure stability?
Preparing the ground involves excavating to a depth sufficient to accommodate a base layer of compacted gravel topped with sand. This foundation provides stability, prevents settling, and enhances drainage for the stone path.